What does it take to manufacture AudioCubes?
2015-09-01
We often get questions from people about the manufacturing of the AudioCubes, such as where they are made, what’s inside every AudioCube, etc.
Since quite some people have shown interest into the manufacturing process of the AudioCubes, we decided in this blog post to share with you how we’re building, testing, and packaging our AudioCubes. An overview from raw components to a finished product :-)
AudioCubes are made in Belgium
To answer the first question that probably pops up into your mind: no, we’re not manufacturing the AudioCubes in Asia:-)Even though many people have suggested moving our manufacturing to Asia, we decided not to go that route.
From the very first prototype in 2004 until the current generation of AudioCubes, the Wireless AudioCubes PRO, all our electronics is assembled in a local factory in Belgium, Europe.
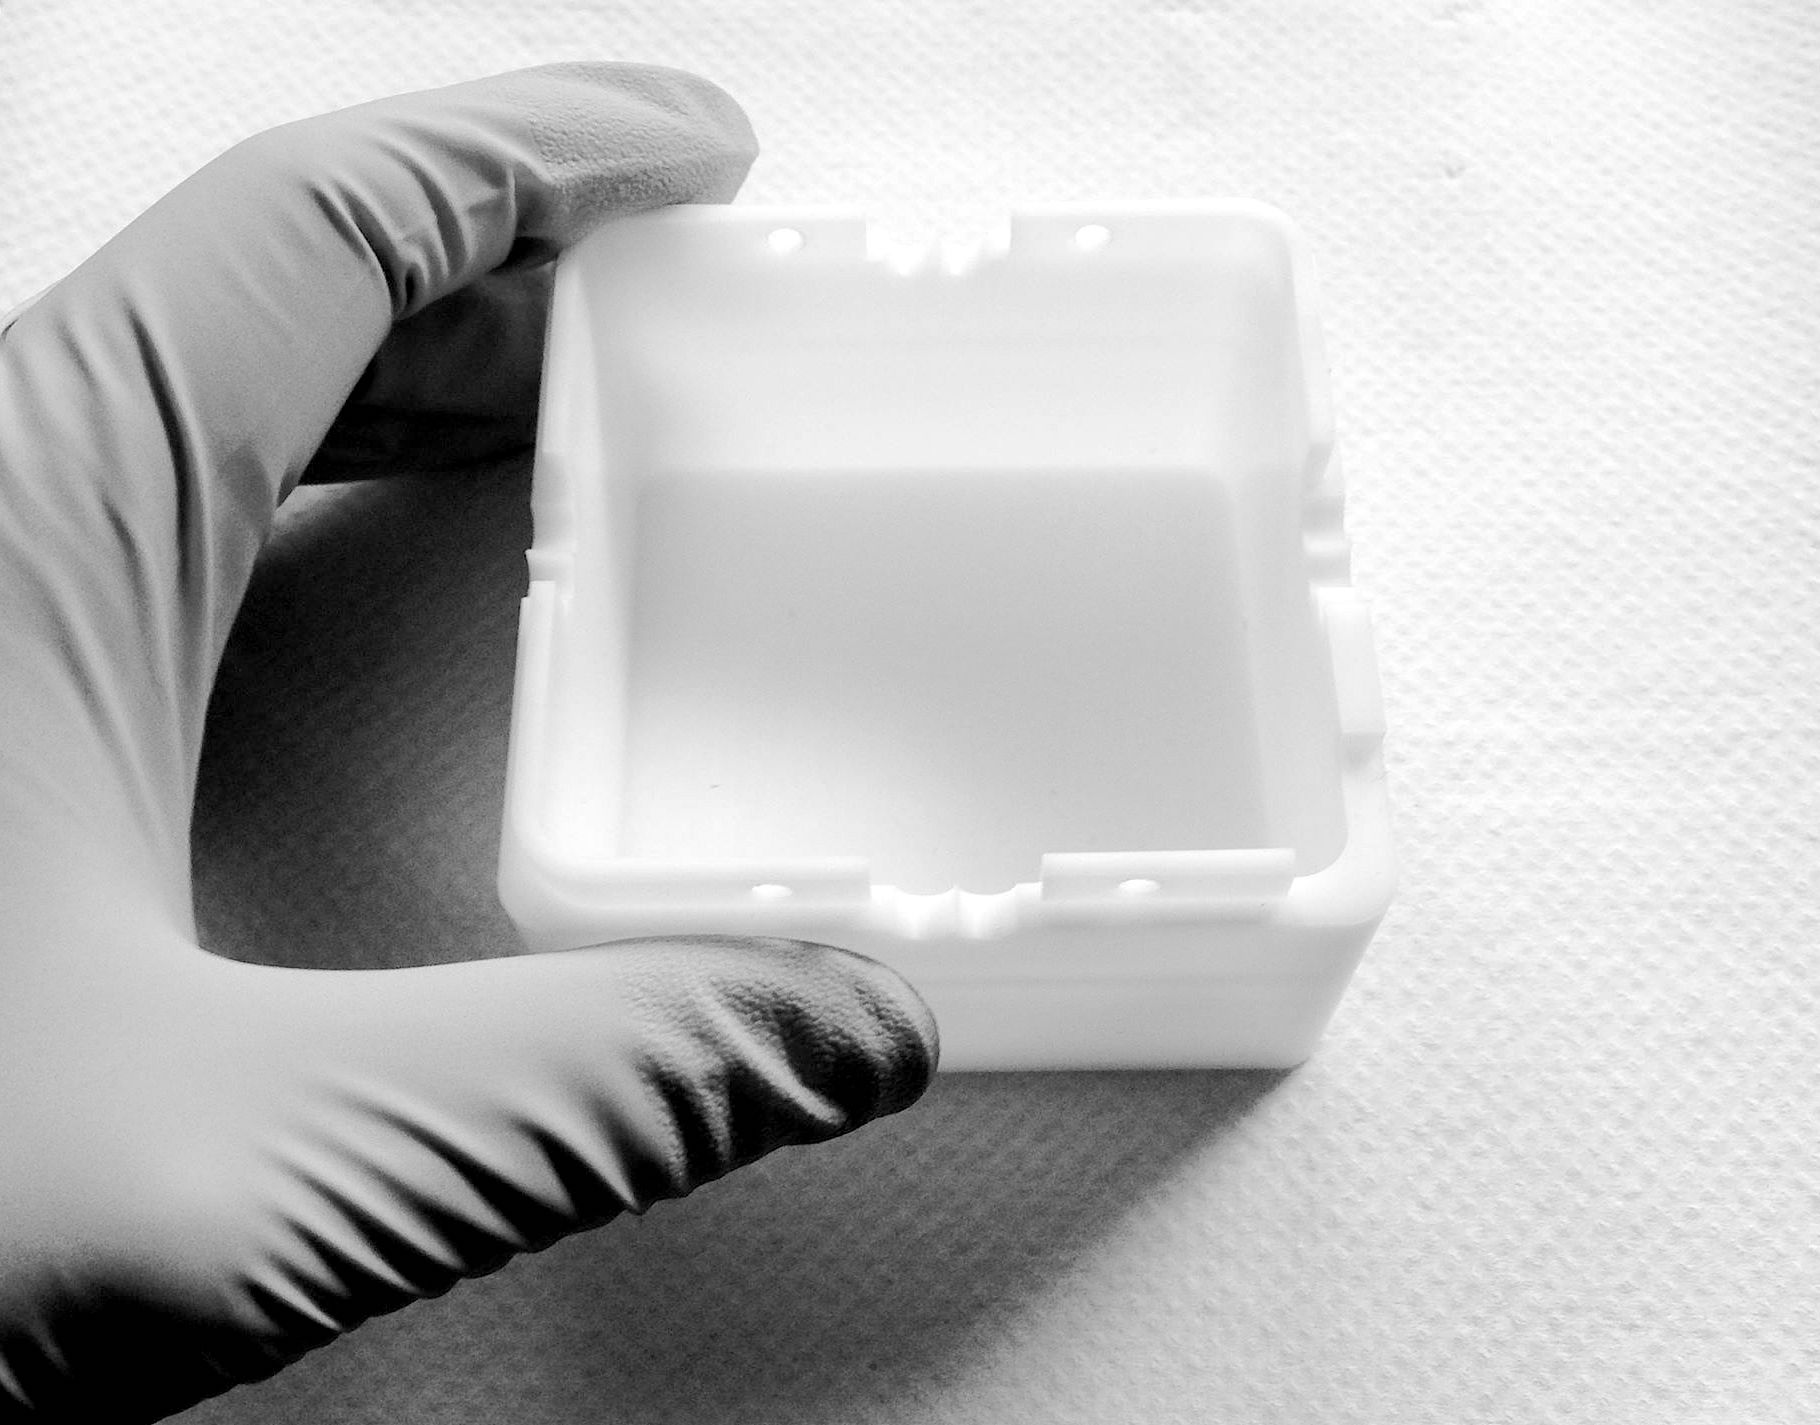
The housing of the AudioCubes is made from solid Delrin, by CNC milling. This is also done at a location in Belgium, in a seperate process that runs in parallel with the manufacturing of the electronics of the AudioCubes.
As a small company making a tool professional artists depend on every day, we believe it is very important to offer high quality manufacturing and tight quality control, which are the main reasons we're manufacturing in Europe and not in Asia.
AudioCubes are made on a super advanced production line
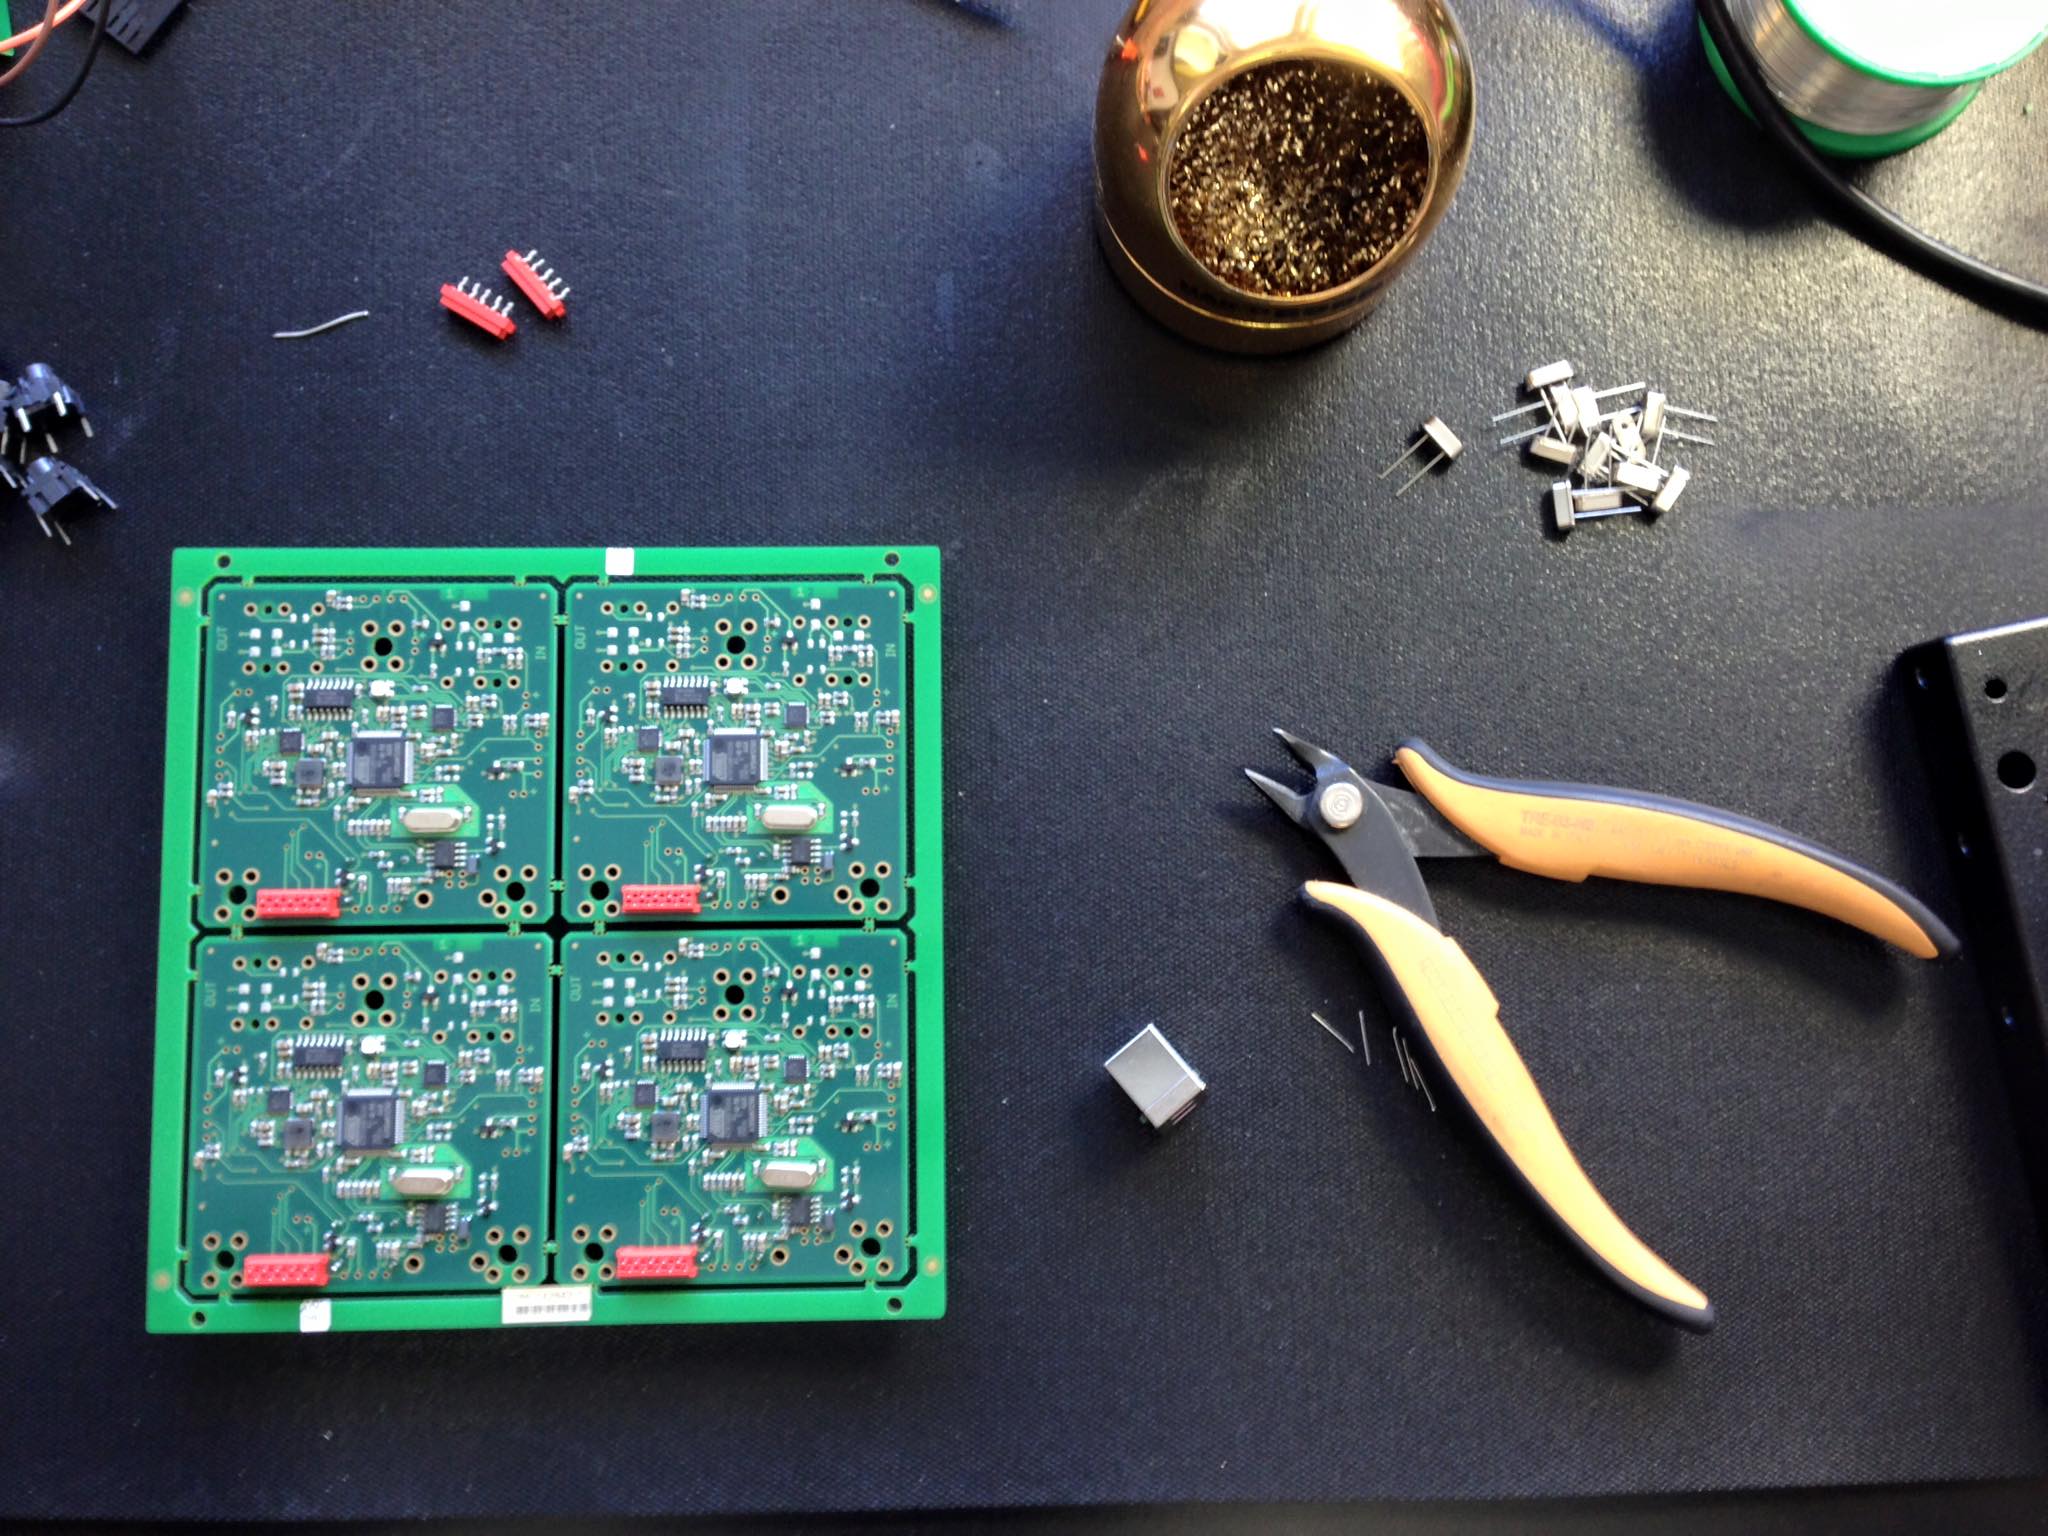
Of course, there are many steps involved into manufacturing the AudioCubes. We first need to order all the parts, and then make sure all the parts arrive at the factory around the same time and in the right quantities, which is in some cases quite a challenge, because we buy components from all around the world.
Once the components arrive, we do a quality check ourselves. When the components pass our quality standards, we give the factory green light to start assembling the surface mounted components onto the printed circuit board.
The placing of these components is done by a pick and place machine, after which the boards go into an oven to get soldered. The machines used by the factory are super high end and are replaced every year by newer models, so they can handle the most advanced jobs.
After all surface mount components have been soldered onto the PCB, and each board has been inspected, the boards then go to the through hole process where all the through hole components are placed and soldered (such as the AudioCubes sensors).
Sometimes the boards are also inspected on an X-ray machine to make sure that the soldering of all the SMD components of the AudioCubes motherboard achieves the quality level we expect from the factory.
After that is done there is another round of inspection, and a few more components are manually placed and soldered (such as the rechargeable battery). After manual assembly the boards are inspected again, to make sure all the manual work is up to our standards.
Each AudioCube is programmed and tested by hand
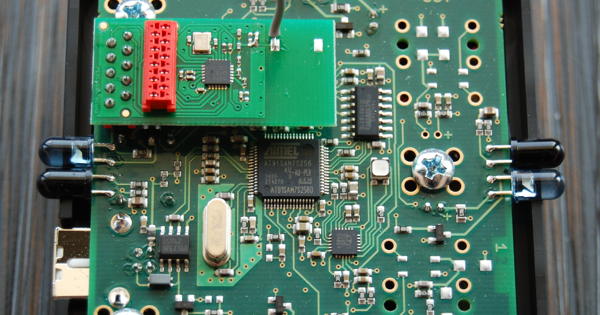
After the board assembly process the finished boards are put into the bottom half of the AudioCubes PRO housing, and the programming and testing of the boards begin.
The AudioCubes are loaded with the correct firmware, and we then test each AudioCube using the software you end up using with the AudioCubes, our MIDIBridge application. This way we are sure that what you get in your AudioCubes order will work perfectly fine!
We test the RGB LEDs, sensor ports, power management, USB, battery and wireless module and make sure everything is properly working.
When the firmware has been programmed and the AudioCubes have been tested, it's time to close the housing of the AudioCubes, apply a vinyl sticker, serial number, and carefully package the AudioCubes. The final touch is a label on the box, and then it's off to the warehouse where they are stored until ready for shipment. We ship from 2 locations - San Francisco and The Netherlands.